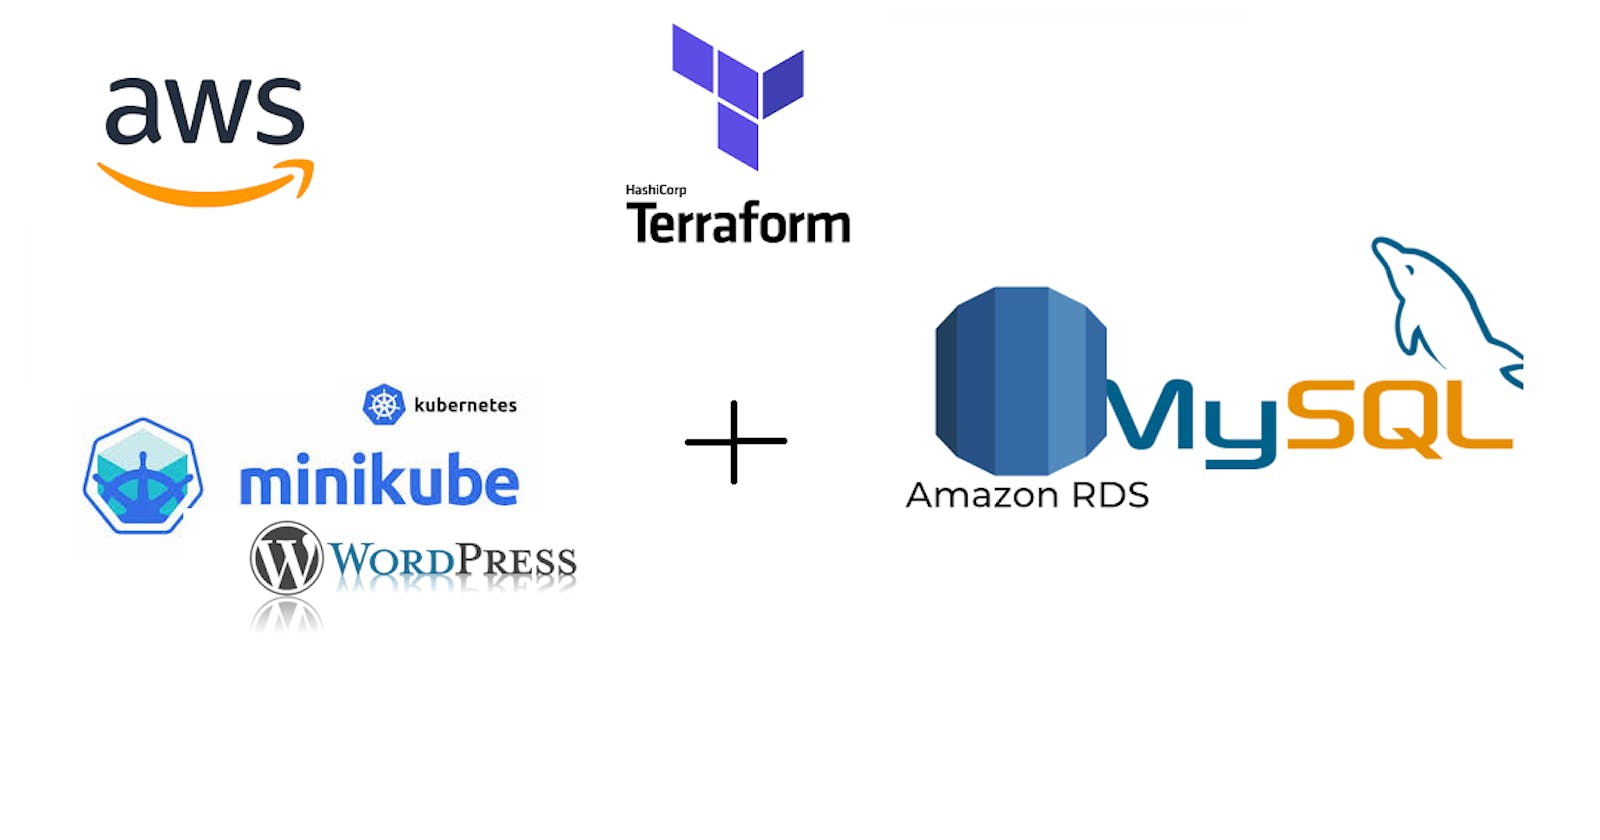


Deploy WordPress web server on Kubernetes Minikube cluster and integrate it with Amazon RDS using Terraform
Task Overview
➡ Write an Infrastructure as code using Terraform, which automatically deploy the WordPress application
➡ On AWS, use the RDS service for the relational database for the WordPress application.
➡ Deploy the WordPress as a container either on top of Minikube or EKS or Fargate service on AWS
➡ The WordPress application should be accessible from the public world if deployed on AWS or through a workstation if deployed on Minikube.
Note -
Here I’m using Minikube to deploy the WordPress container.
Let’s Get Started
Add Provider
In a new workspace create a .tf file and set provider details.
Here we have to add two providers, one is for Kubernetes and another is for AWS.
# Add Kubernetes Provider

provider “kubernetes” {}

# Add AWS Provider

provider “aws” {
    profile = “shashikant”
    region = “ap-south-1”
}
Add VPC
Select default VPC and subnet of AWS or you can create a new VPC also.
# Get default VPC

data "aws_vpc" "default_vpc" {
    default = true
}

# Getting default Subnets

data "aws_subnet_ids" "default_subnet" {
    vpc_id = data.aws_vpc.default_vpc.id
}
Create Security Group and add Subnet Group
Now we create
Security Groupfor RDS Instance. and here it will create in our default VPC.In the Ingress rule, only allowed port no.
3306because theMySQLdatabase works on this port. Also, allow Egress traffic from anywhere because when localhost WordPress will contact RDS then for RDS it will be outside traffic*.In the egress rule allow all IPs because RDS might need to download upgrades from the Internet. But we can restrict if we want.
Next, we create one
Subnet Groupfor ourAmazon RDSbecause we want RDS to be launched on any of the available Subnet under my default VPC.
# Make Security Group for RDS Instance

resource "aws_security_group" "rds_sg" {
  name        = "rds security group"
  description = "Connection between WordPress and RDS"
  vpc_id      = data.aws_vpc.default_vpc.id

  ingress {
    description = "MySQL"
    from_port   = 3306
    to_port     = 3306
    protocol    = "tcp"
    cidr_blocks = ["0.0.0.0/0"]
  }

  egress {
    from_port   = 0
    to_port     = 0
    protocol    = "-1"
    cidr_blocks = ["0.0.0.0/0"]
  }

  tags = {
    Name = "RDS-SG"
  }
}

# Subnet Group for RDS

resource "aws_db_subnet_group" "subnet_grp" {
  name       = "rds subnet group"
  subnet_ids = data.aws_subnet_ids.default_subnet.ids

}
Launch RDS Instance
Using subnet group and above created security group launch an RDS instance.
# Launch RDS Instance

resource "aws_db_instance" "rds" {

    depends_on = [
    aws_security_group.rds_sg,
    aws_db_subnet_group.subnet_grp,
  ]

  engine                 = "mysql"
  engine_version         = "5.7"
  identifier             = "wordpress-database"
  username               = "wpuser"
  password               = "WordPressPass"
  instance_class         = "db.t2.micro"
  storage_type           = "gp2"
  allocated_storage      = 20
  db_subnet_group_name   = aws_db_subnet_group.subnet_grp.id
  vpc_security_group_ids = [aws_security_group.rds_sg.id]
  publicly_accessible    = true
  name                   = "wpdb"
  parameter_group_name   = "default.mysql5.7"
  skip_final_snapshot    = true
}
Here I used the
depends onfeature of Terraform because I want after those two resources creation, Terraform starts creating RDS Instance because while creating RDS we need to provide those two resources.Next, we mention which database and its version to use. Here I used
MySQL version 5.7because WordPress works with MySQL or MariaDB Database.Identifier is just the name of the AWS resource. Then we pass the
username and passwordin the database. Note one thing here is that this username and password are case sensitive.Then simply mention the flavor of our database instance. Also in RDS, the minimum storage we can provide is 20GB. I choose gp2 storage but if you have other requirements then you can choose accordingly.
Next, we mention the VPC and Subnet, where we want to provision our Instance. Also as we want connectivity to the database from the outside world so turn on Public Accessible.
Give a
nameto the database that you want to create, and thenskip final snapshotis true because when we will delete our Database we don’t want to create a snapshot. But in the industry, this option is always disabled.
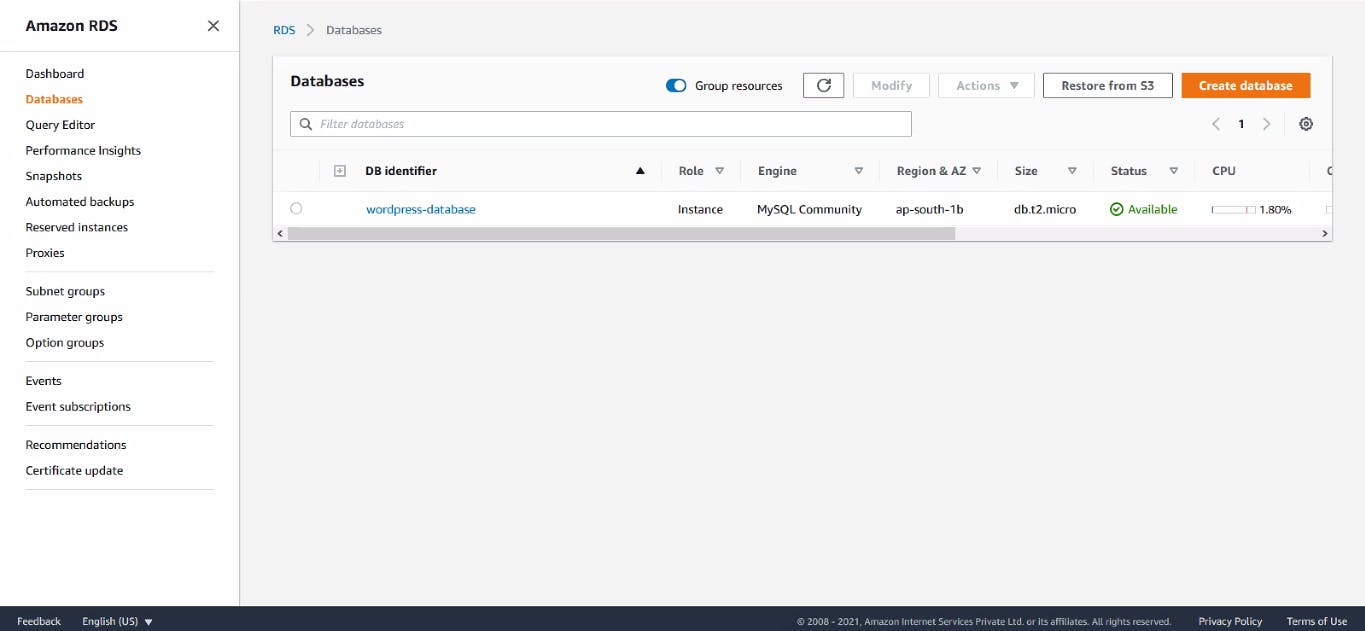
Amazon RDS Database created
WordPress Deployment over Kubernetes
# Deployment of the WordPress site on Kubernetes

resource "kubernetes_deployment" "wp_deploy" {

    depends_on = [
    aws_db_instance.rds,
  ]

  metadata {
      name = "wordpress"
      labels = {
          app = "wordpress"
        }
    }
  spec {
      selector {
        match_labels = {
            app = "wordpress"
            }
        }
    template {
        metadata {
            labels = {
               app = "wordpress"
           }
        }
        spec {
            container {
                image = "wordpress"
                name  = "wordpress-pod"
                env {
                    name = "WORDPRESS_DB_HOST"
                    value = aws_db_instance.rds.endpoint
                }
                env {
                    name = "WORDPRESS_DB_DATABASE"
                    value = aws_db_instance.rds.name
                }
                env {
                    name = "WORDPRESS_DB_USER"
                    value = aws_db_instance.rds.username
                }
                env {
                    name = "WORDPRESS_DB_PASSWORD"
                    value = aws_db_instance.rds.password
                }
                port {
                container_port = 80
                }
            }
        }
     }
  }
}
This script will deploy WordPress on Kubernetes. Here this script depends on RDS Instance because we want as soon as our WordPress site deploy it get the endpoint of the Database server to store data.
Expose WordPress site to Internet World
# Expose Kubernetes Deployment

resource "kubernetes_service" "wp_service" {

    depends_on = [
    kubernetes_deployment.wp_deploy,
  ]

  metadata {
    name = "wp-service"
  }
  spec {
    selector = {
      app = "wordpress"
    }
    port {
      port = 80
      target_port = 80
      node_port = 30050
    }
    type = "NodePort"
  }
}
This block of code depends on the WordPress Deployment after deployment is complete, we expose deployment so that clients can access the site.
Open Browser to Access WordPress Site
//  open WordPress site in Browser

resource "null_resource" "ChromeOpen"  {
depends_on = [
    kubernetes_service.wp_service,
  ]

    provisioner "local-exec" {
        command = "minikube service ${kubernetes_service.wp_service.metadata[0].name}"

   }
}
In the end, this code will run and Open the Localhost Browser and directly take us to the IP of the WordPress site.
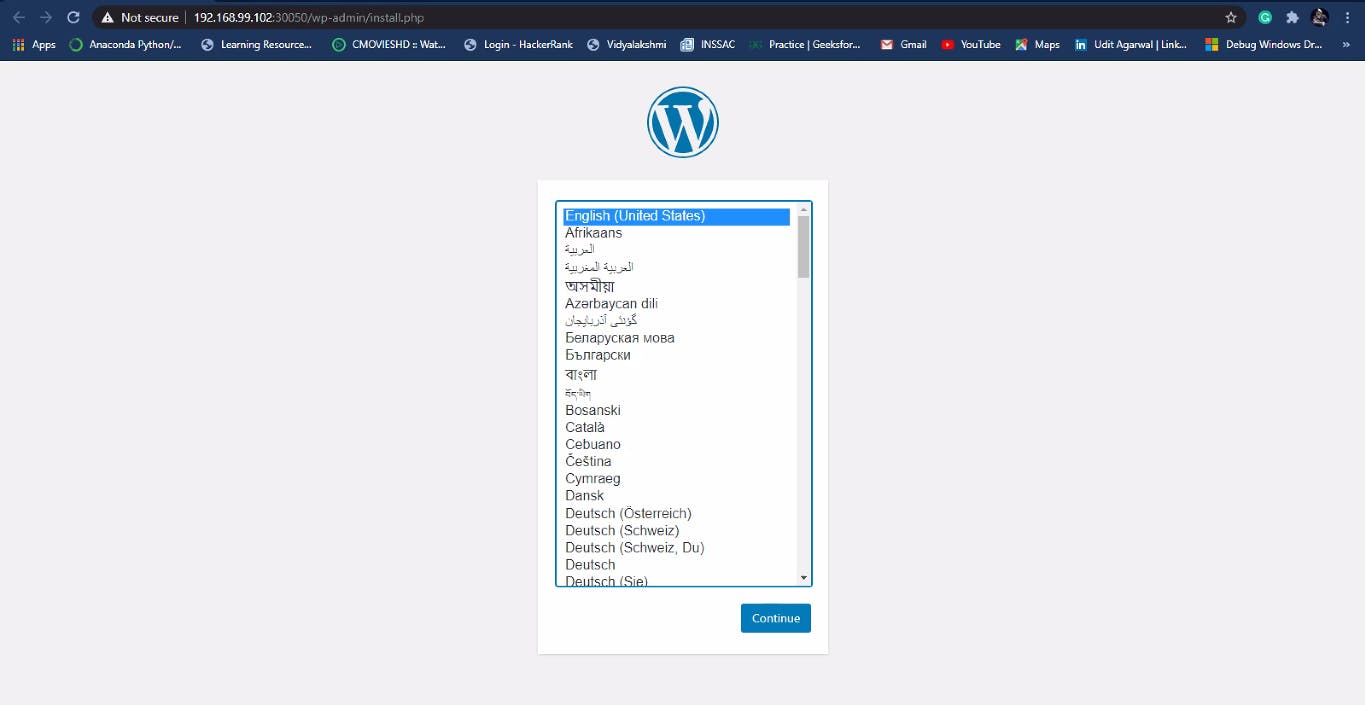
WordPress deployment successfully created and open the configuration page
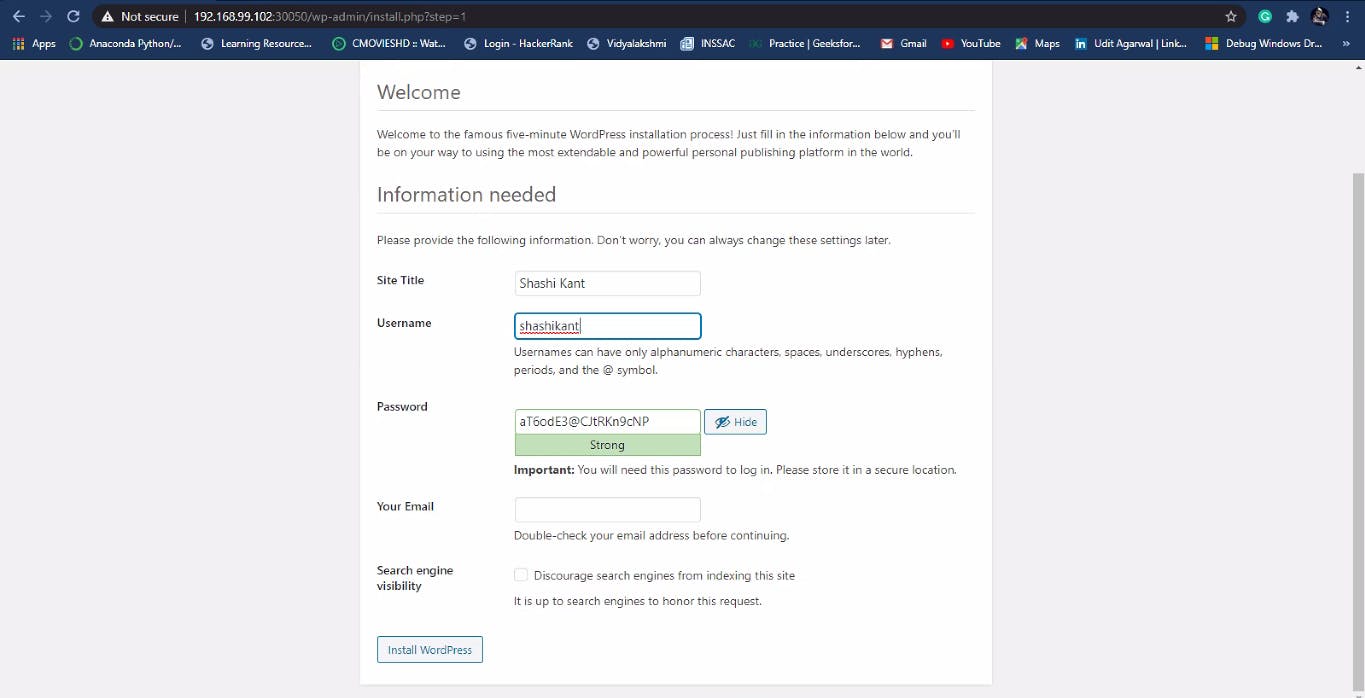
Add Details
Give WordPress site a Name, and create username and password to login into the site. and finally, click on Install WordPress
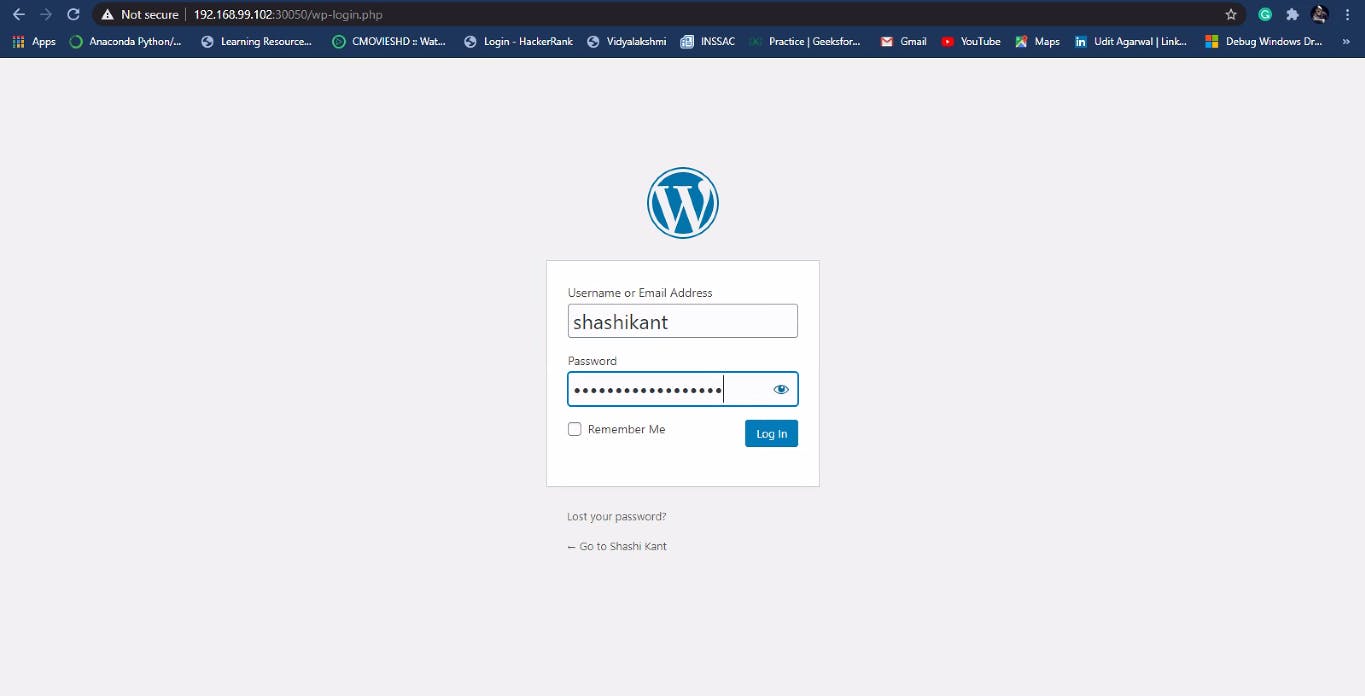
Login into the site by giving your username and password created in the previous step.
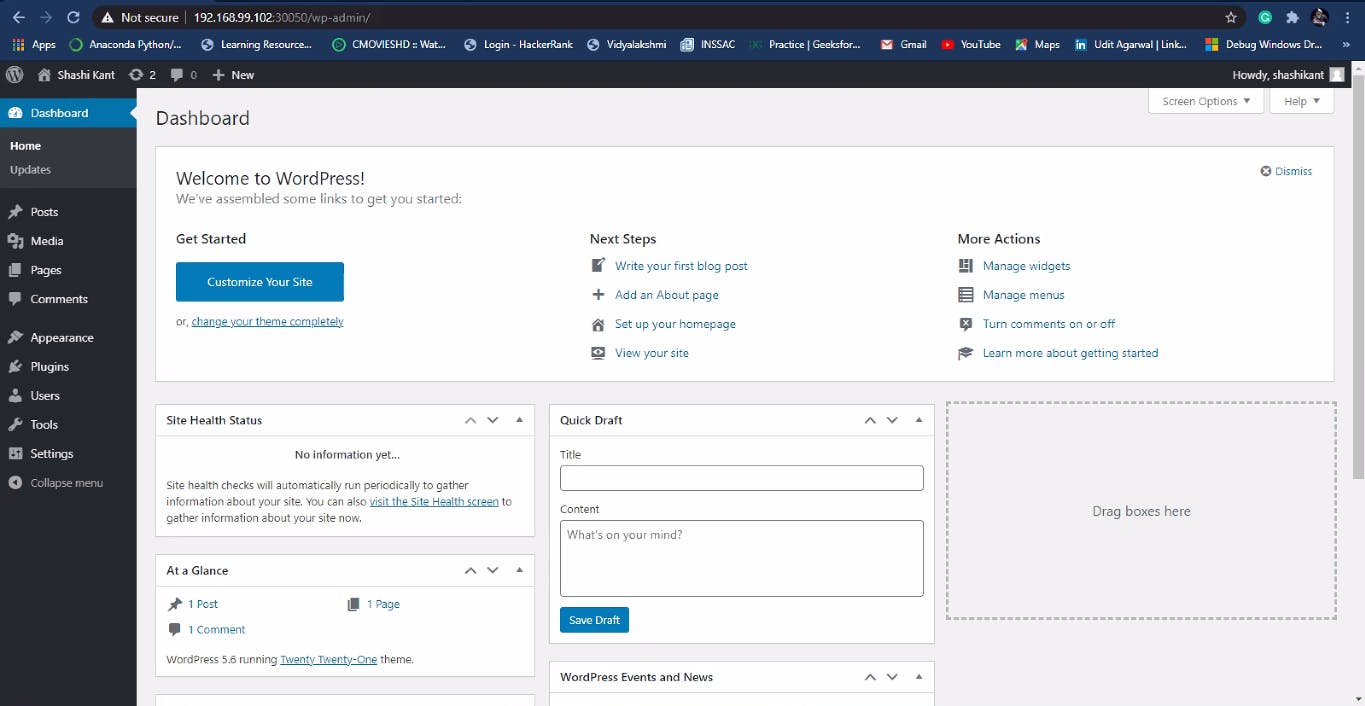
Here is our WordPress site Homepage.
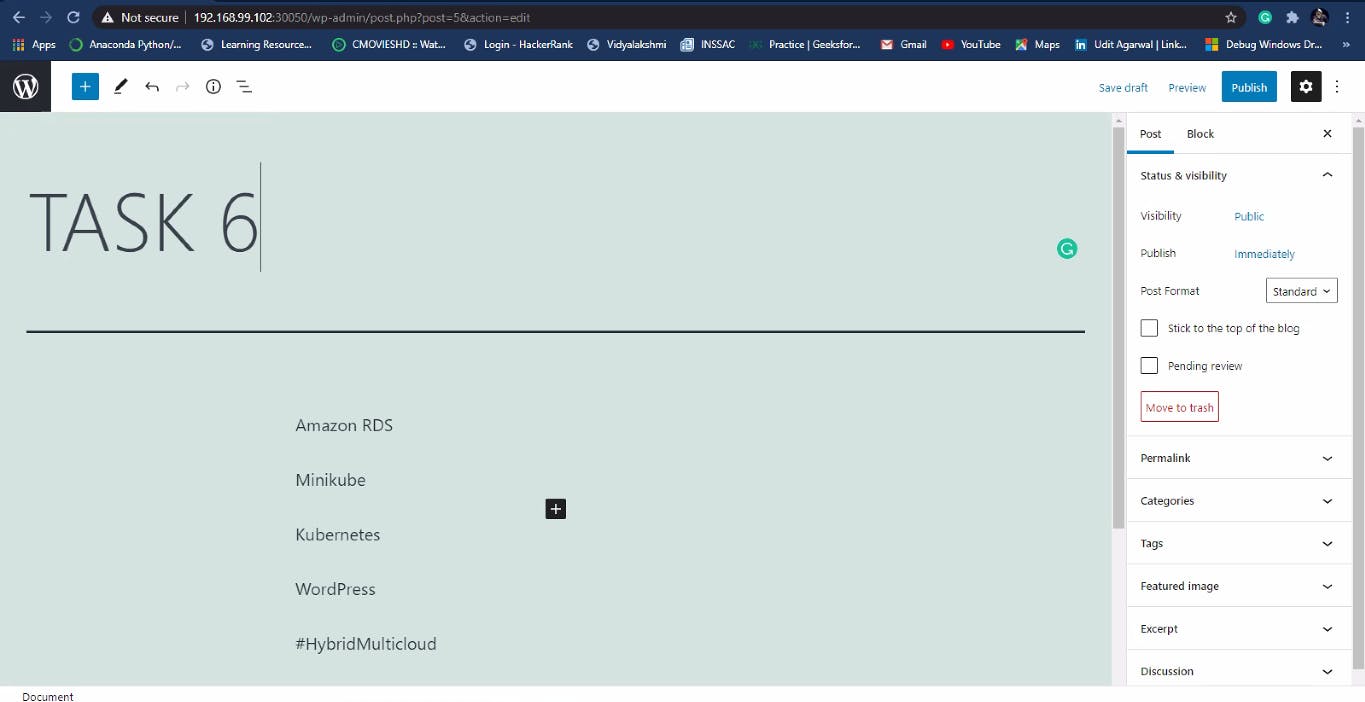
write your blog and publish it
we can write our personal blogs here.
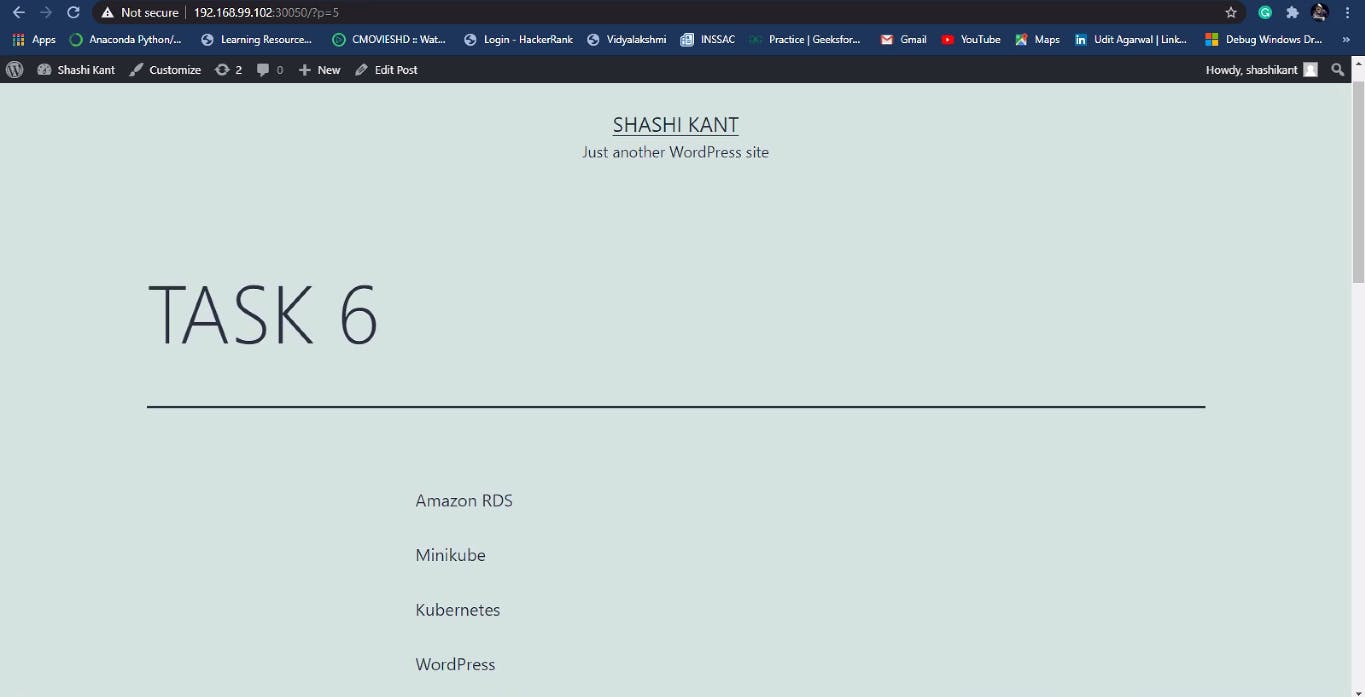
Published blog
We can see our Published Blogs here.
All the Data is stored securely and managed in our Amazon RDS storage. so, we do not have to worry about Data.
Very Important Instructions
For the first time running Terraform code on AWS CLI, use terraform init to install the plugins.
Do this process only once.
terraform init
To check the syntax of code run terraform validate. If got some error, then check the syntax of the code, and try again until success comes.
terraform validate
Apply Terraform code to create infrastructure, use
terraform apply
To destroy all the infrastructure created by Terraform code, use
terraform destroy
GitHub Repository Link for My Terraform code - GitHub Repo
That’s All, Keep Learning.
! THANK YOU For Reading !