Creating Fully Secured Web App on AWS and automated using Terraform
Task Overview
The following steps are followed -
- Write an Infrastructure as code using Terraform, which automatically creates a VPC.
In that VPC we have to create 2 subnets -
A. public subnet [ Accessible for Public World! ]
B. private subnet [ Restricted for Public World! ]
- Create a public-facing internet gateway to connect our VPC/Network to the internet world and attach this gateway to our VPC.
- Create a routing table for Internet gateway so that instance can connect to the outside world, update and associate it with the public subnet.
- Create a NAT gateway to connect our VPC/Network to the internet world and attach this gateway to our VPC in the public network
- Update the routing table of the private subnet, so that to access the internet it uses the nat gateway created in the public subnet
- Launch an ec2 instance that has WordPress setup already having the security group allowing port 80 so that our client can connect to our WordPress site. Also, attach the key to the instance for further login into it.
- Launch an ec2 instance that has MYSQL setup already with a security group allowing port 3306 in a private subnet so that our WordPress VM can connect with the same. Also, attach the key with the same.
Note -
WordPress instancehas to be part of thepublic subnetso that our client can connect our site.MySQL instancehas to be part of aprivate subnetso that the outside world can’t connect to it.Don’t forget to add auto IP assign and auto DNS name assignment options to be enabled.
NAT Gateway - It is a highly available AWS managed service that makes it easy to connect to the Internet from instances within a private subnet in an Amazon VPC.
Bastion Host - A is a server whose purpose is to provide access to a private network from an external network, such as the Internet. Because of its exposure to potential attack, a bastion host must minimize the chances of penetration.
Prerequisites Before getting started
- Need an AWS account
- Configure AWS CLI in your System
So, Lets Get Started
Add Provider
In a new workspace create a .tf file and set provider details.
provider "aws" {
 region = "ap-south-1"
 profile = "shashikant"
}
Create VPC
For creating VPC, we write
resource "aws_vpc" "shashikant_VPC" {
 cidr_block = "192.168.0.0/16"
 instance_tenancy = "default"
 enable_dns_hostnames = true

tags = {
 Name = "shashikant_VPC"
 }
}
This code creates one VPC with enabling DNS hostname.
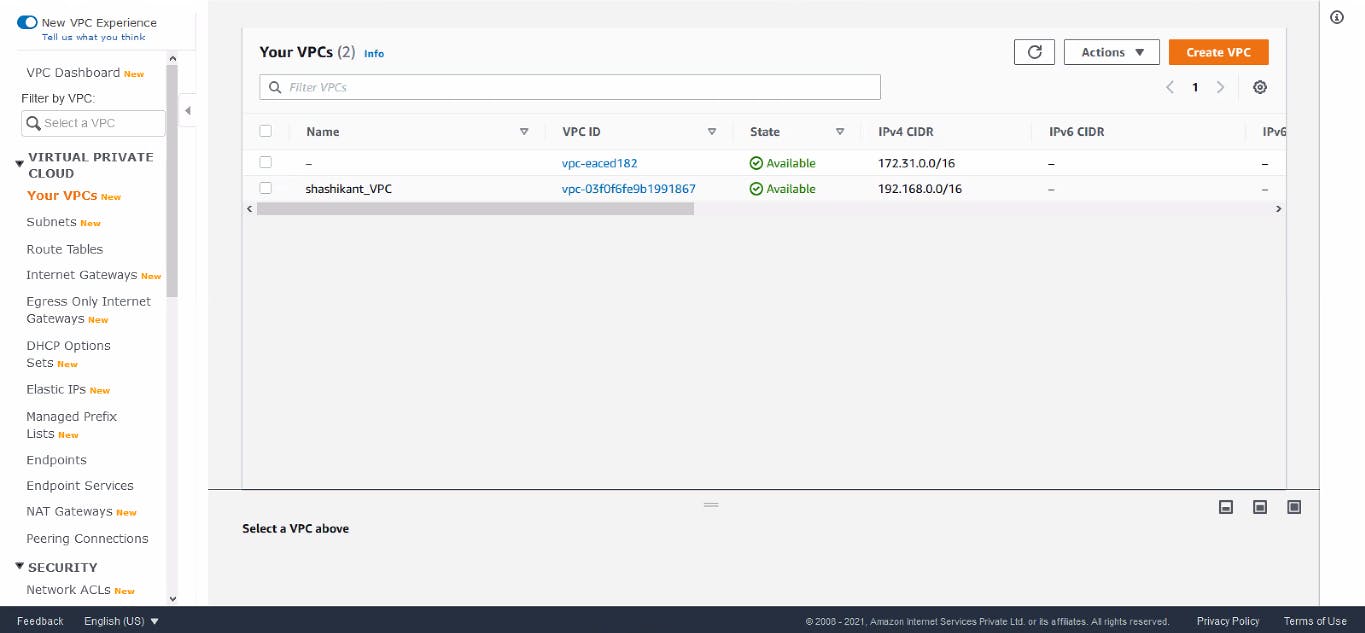 VPC Created
Create Public Subnet
Now we create a public subnet on which we have to launch our WordPress website for the public world.
resource "aws_subnet" "shashikant_public_subnet" {
 vpc_id = aws_vpc.shashikant_VPC.id
 cidr_block = "192.168.0.0/24"
 availability_zone = "ap-south-1a"

tags = {
 Name = "shashikant_public_subnet"
 }
}

resource "aws_internet_gateway" "my_internet_gateway" {
 vpc_id = aws_vpc.shashikant_VPC.id

 tags = {
 Name = "my_internet_gateway"
 }
}

resource "aws_route_table" "my_route_table_public" {
 vpc_id = aws_vpc.shashikant_VPC.id

route {
 cidr_block = "0.0.0.0/0"
 gateway_id = aws_internet_gateway.my_internet_gateway.id
 }

tags = {
 Name = "my_route_table"
 }
}
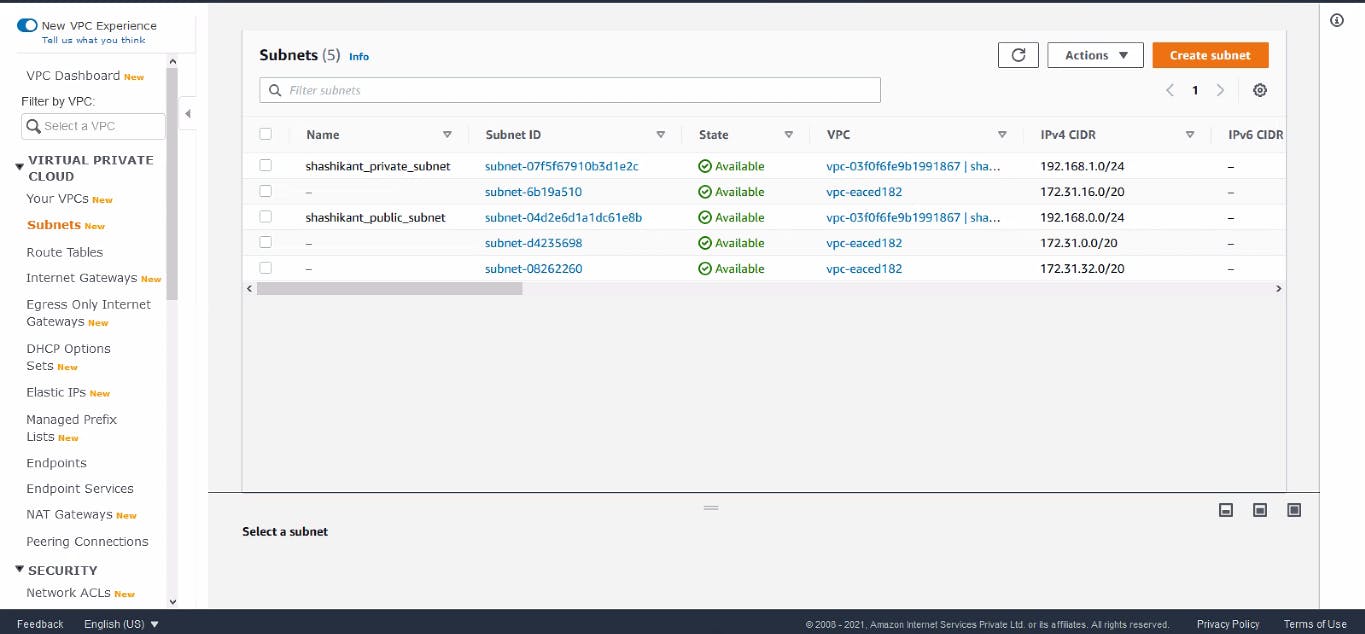
Public Subnet Created
Here, our Public subnet is created with an Internet gateway, and a Route table is also created (Not Attached) for attaching the Route table to the public subnet we write some code.
resource "aws_route_table_association" "assign_route_table_to_public" {
 subnet_id = aws_subnet.shashikant_public_subnet.id
 route_table_id = aws_route_table.my_route_table_public.id
}
Now our Public Subnet is Ready for connecting with the World.
Create Private Subnet
Now we create a Private Subnet for launching our Database server.
Here we don’t want to connect with the outside world as we make it private so don’t create any Internet Gateway.
resource "aws_subnet" "shashikant_private_subnet" {
 vpc_id = aws_vpc.shashikant_VPC.id
 cidr_block = "192.168.1.0/24"
 availability_zone = "ap-south-1b"

tags = {
 Name = "shashikant_private_subnet"
 }
}
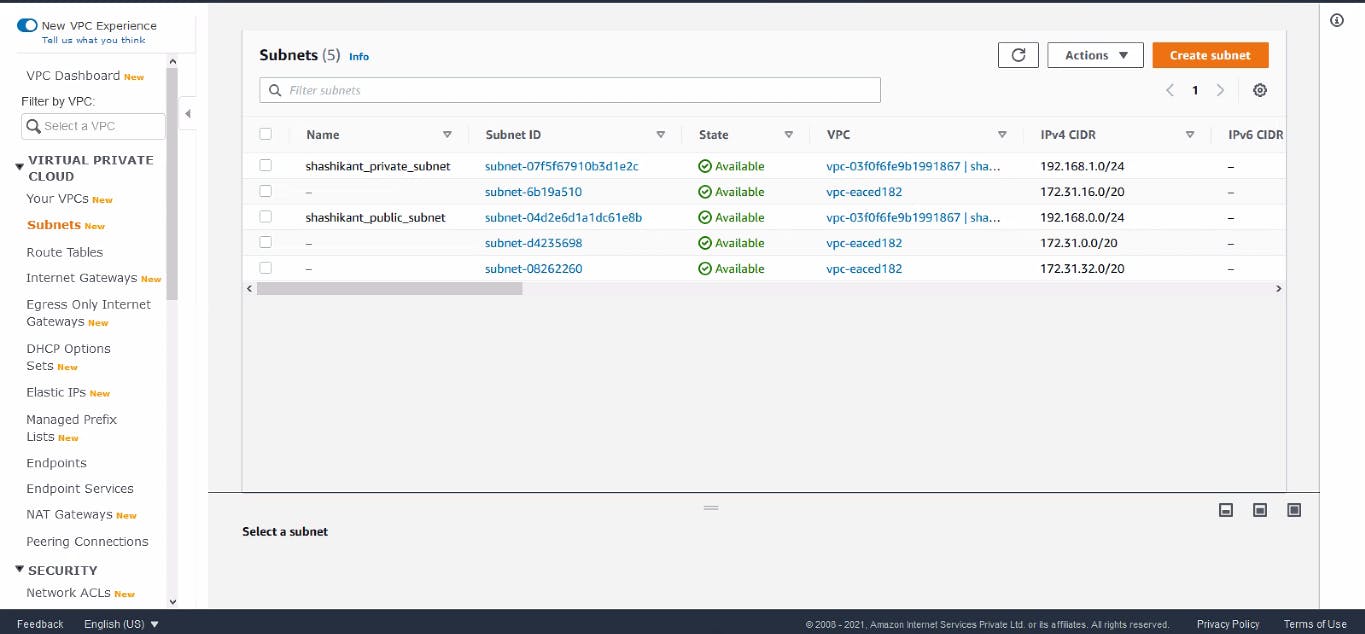 Private Subnet Created
Important -
Now we need one more thing that our private subnet can connect to the internet for some important updates for Software, etc. but not vice-versa (the outside world cannot connect with private subnet) for security reasons. For this use case, we have a concept called Source Network Address Translation(SNAT) in Networking.
AWS has one sub-service inside VPC called NAT Gateway for this.
so, now for creating NAT Gateway write.
resource "aws_eip" "shashikant_elastic_ip" {
 vpc = true
 associate_with_private_ip = "192.168.1.5"
}

resource "aws_nat_gateway" "shashikant_nat_gw" {
 depends_on = [
 aws_eip.shashikant_elastic_ip,aws_subnet.shashikant_public_subnet
 ]
 allocation_id = aws_eip.shashikant_elastic_ip.id
 subnet_id = aws_subnet.shashikant_public_subnet.id

tags = {
 Name = "gw NAT"
 }
}
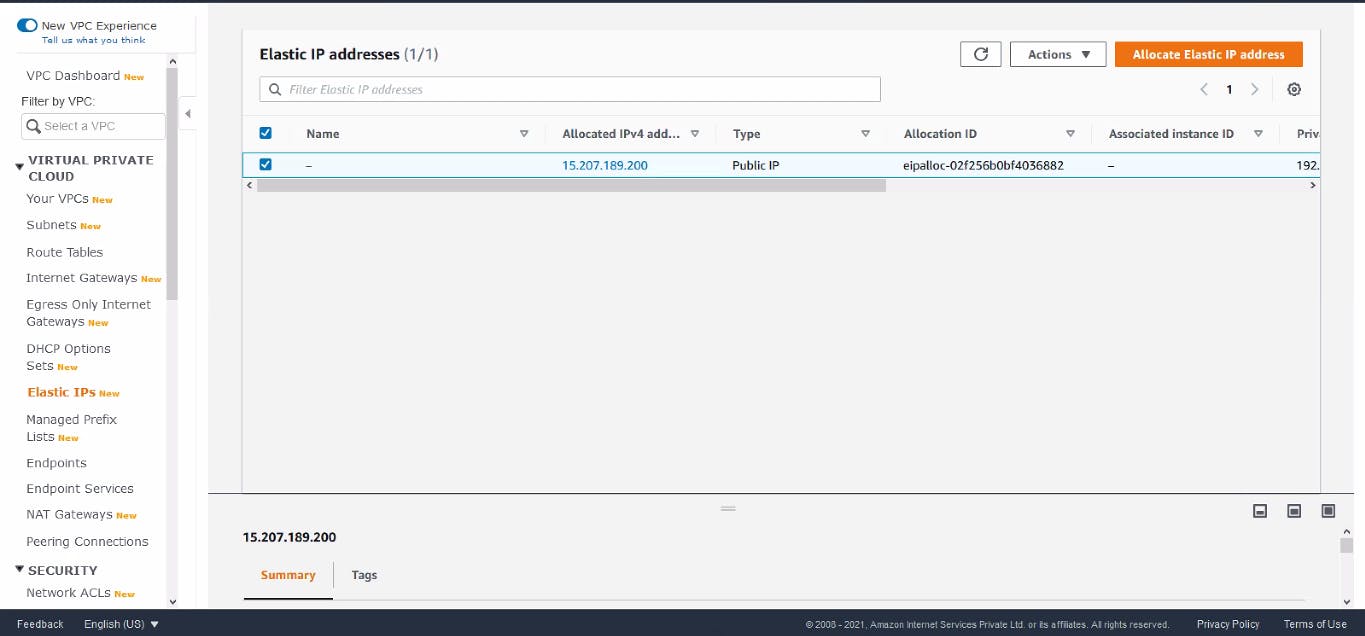
Elastic IP Address
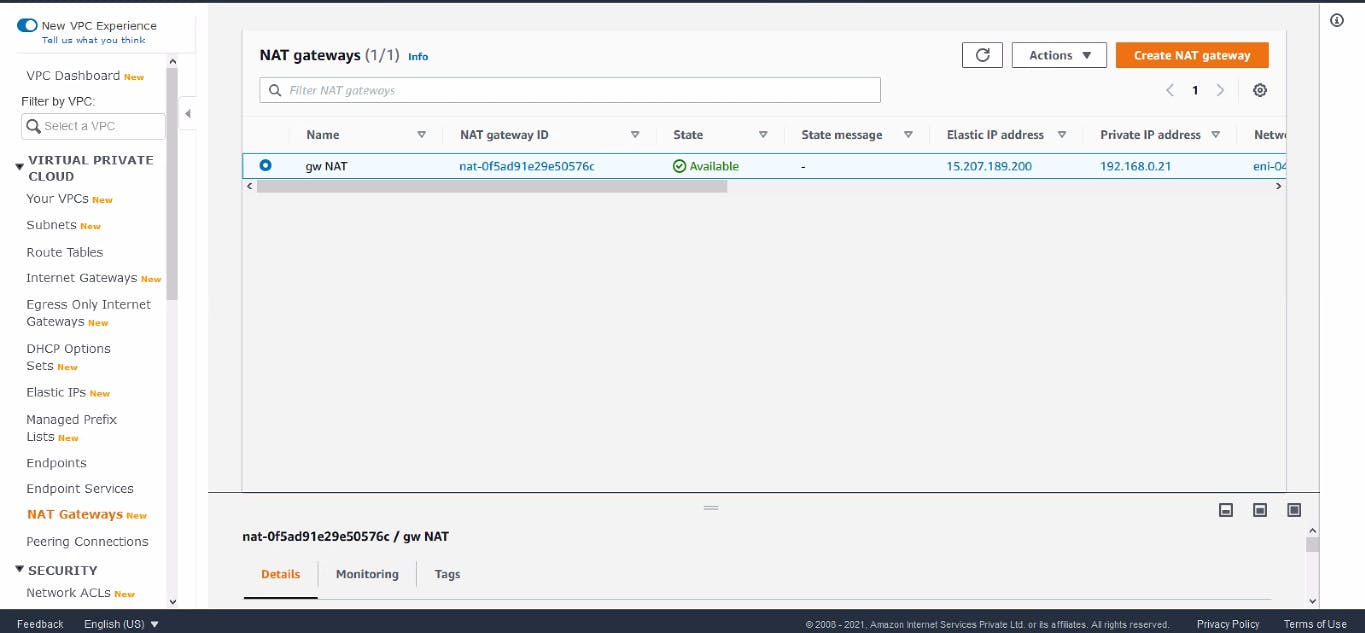
NAT Gateway Created for Private subnet
We need to create one Elastic IP for creating NAT Gateway. Now for connecting this to our private subnet, we need to create one more routing Table and associate it with our Private Subnet.
resource "aws_route_table" "my_route_table_private" {
 vpc_id = aws_vpc.shashikant_VPC.id

route {
 cidr_block = "0.0.0.0/0"
 gateway_id = aws_internet_gateway.my_internet_gateway.id
 }

tags = {
 Name = "my_route_table"
 }
}

resource "aws_route_table_association" "assign_route_table_to_private" {
 subnet_id = aws_subnet.shashikant_private_subnet.id
 route_table_id = aws_route_table.my_route_table_private.id
}
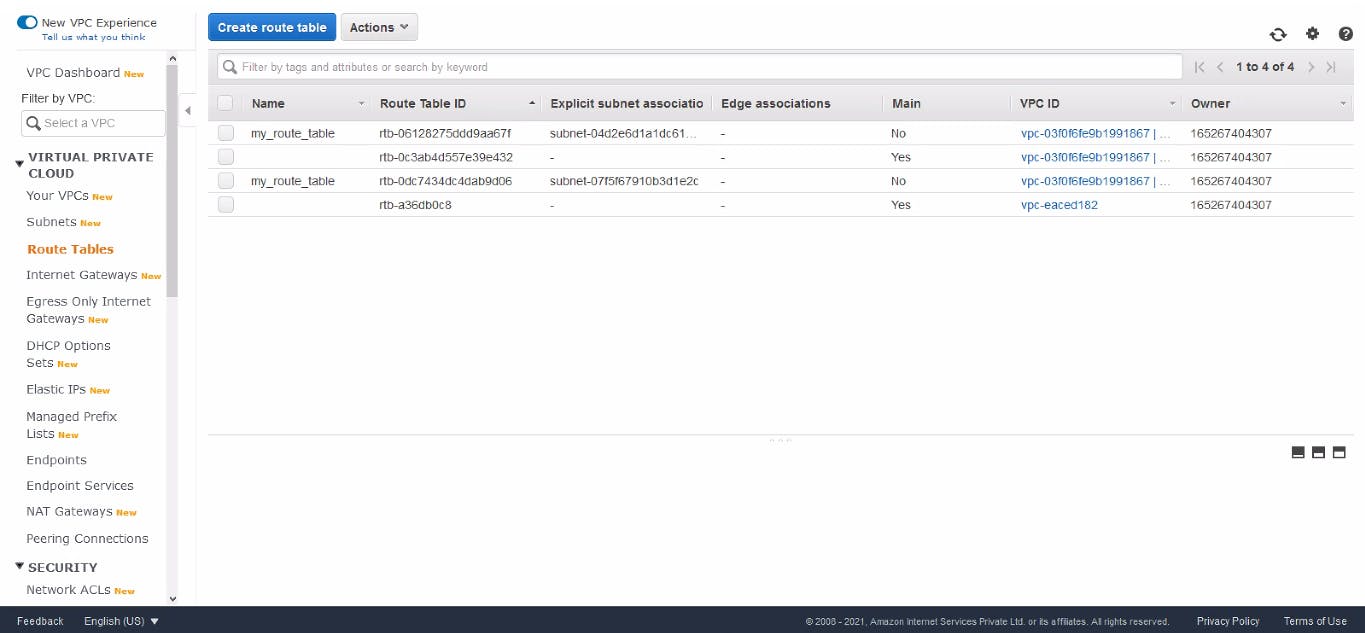
Route Table Created for Private Subnet
Now our Private Subnet is ready, and also we can access the Internet from it, but Internet World cannot come inside (This is the best thing Here).
Create Security Group
Now we have to create Two Security groups, one is for our Web server and the another is for our Database server.
so, first, we create a Security group for Frontend - webserver.
Here, in the webserver security group, I allowed SSH protocol for some testing reasons, but in the real world, we don’t allow SSH protocol.
resource "aws_security_group" "webserver_security_group" {
 name = "webserver_security_group"
 description = "Allow ssh and http"
 vpc_id = aws_vpc.shashikant_VPC.id

ingress {
 description = "HTTP"
 from_port = 80
 to_port = 80
 protocol = "tcp"
 cidr_blocks = ["0.0.0.0/0"]
 }
 ingress {
 description = "SSH"
 from_port = 22
 to_port = 22
 protocol = "tcp"
 cidr_blocks = ["0.0.0.0/0"]
 }

egress {
 from_port = 0
 to_port = 0
 protocol = "-1"
 cidr_blocks = ["0.0.0.0/0"]
 }

tags = {
 Name = "webserver_security_group"
 }
}
Now we create a Security group for Backend - Database server.
Here, In the Database security group, we only allow the 3306 Port number as MySQL Database works on this port number.
resource "aws_security_group" "database_security_group" {
 name = "database_security_group"
 description = "Allow MYSQL"
 vpc_id = aws_vpc.shashikant_VPC.id

ingress {
 description = "MYSQL"
 security_groups = [aws_security_group.webserver_security_group.id]
 from_port = 3306
 to_port = 3306
 protocol = "tcp"
 }
 egress {
 from_port = 0
 to_port = 0
 protocol = "-1"
 cidr_blocks = ["0.0.0.0/0"]
 }

tags = {
 Name = "database_security_group"
 }
}
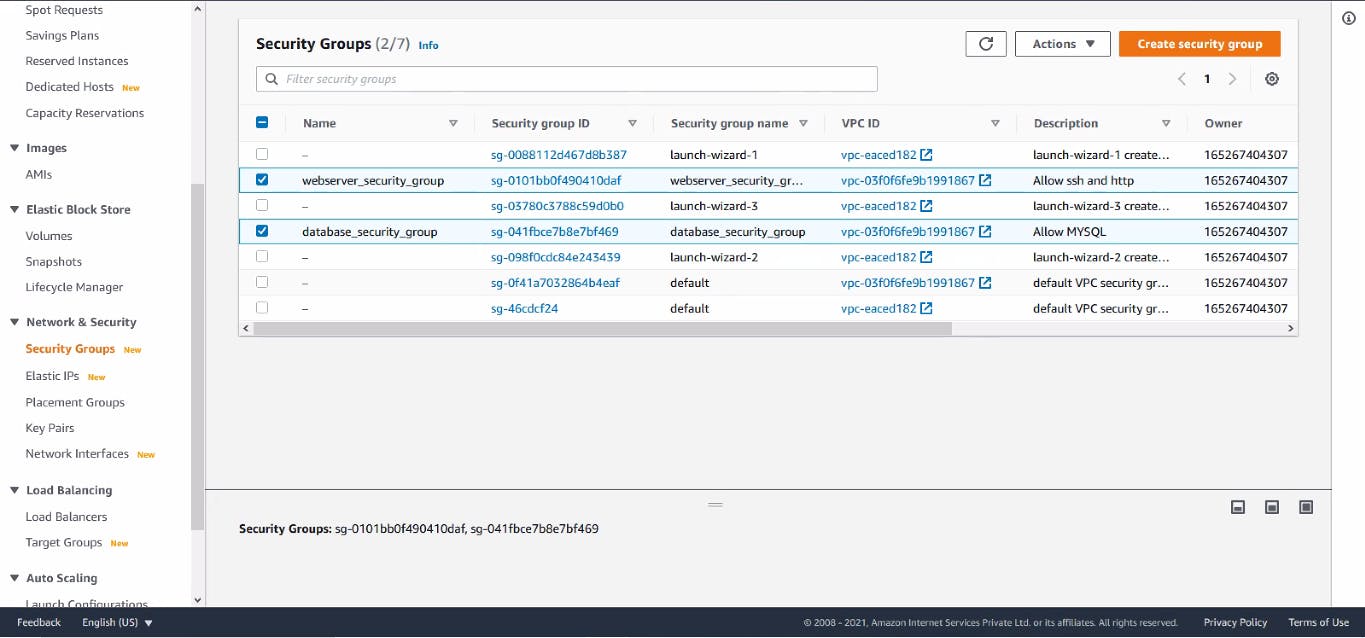
Security Groups Created for web and Database server
Launch Web Server
Now we launch web server. Here I'm using a WordPress site for front-end web server.
resource "aws_instance" "wordpress" {
 depends_on=[ aws_subnet.shashikant_public_subnet, aws_route_table.my_route_table_public]
 ami = "ami-000cbce3e1b899ebd"
 instance_type = "t2.micro"
 associate_public_ip_address = true
 subnet_id = aws_subnet.shashikant_public_subnet.id
 vpc_security_group_ids = [aws_security_group.webserver_security_group.id]
 key_name = "mykey"

tags = {
 Name = "wordpress"
 }
}
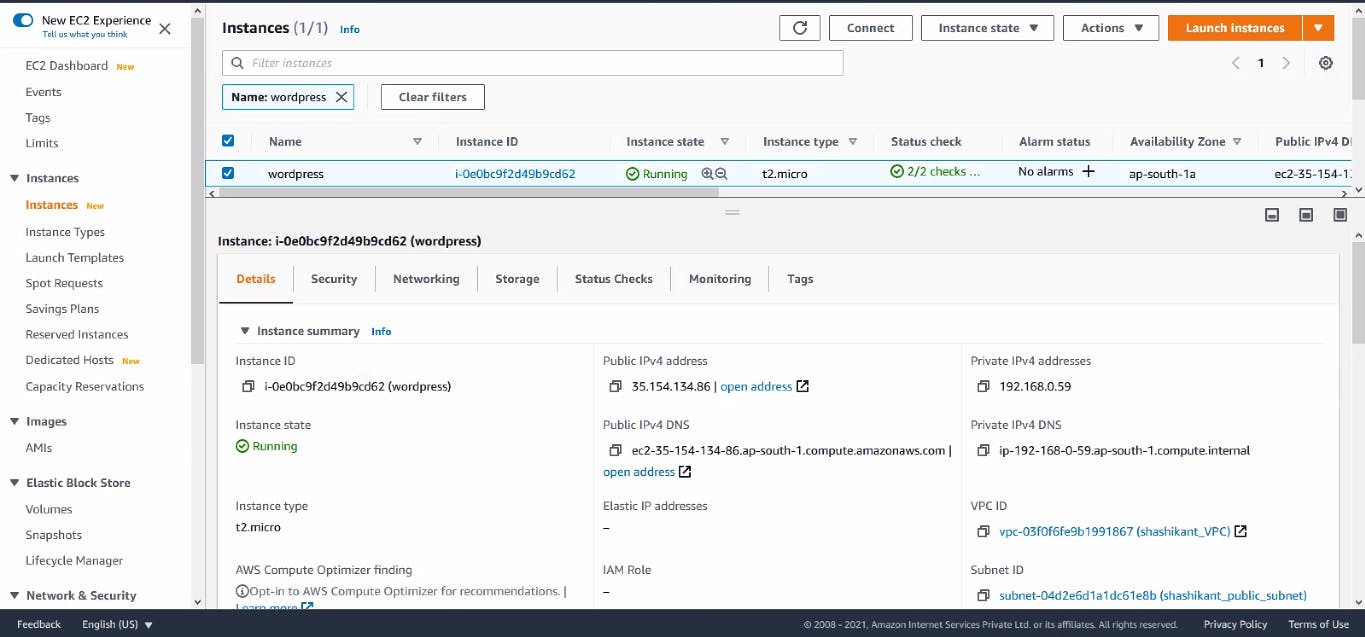
Web Server Launched
Launch Database Server
As MySQL instance is a part of private subnet so that no one from the Internet world connects/Hack to our database. But we also need to do update the software. For this use case, we need a NAT Gateway.
So for going inside the instance, we need to attach a key and allow SSH protocol in the security group but it is not good practice to provide these permissions.
Here comes the concept of Bastion Host, Using this OS we can do SSH only to go inside the MySQL instance.
resource "aws_instance" "MySQL" {
 depends_on=[ aws_subnet.shashikant_private_subnet, aws_route_table.my_route_table_private]
 ami = "ami-0019ac6129392a0f2"
 instance_type = "t2.micro"
 subnet_id = aws_subnet.shashikant_private_subnet.id
 vpc_security_group_ids = [aws_security_group.database_security_group.id]

 tags = {
 Name = "MySQL"
 }
}
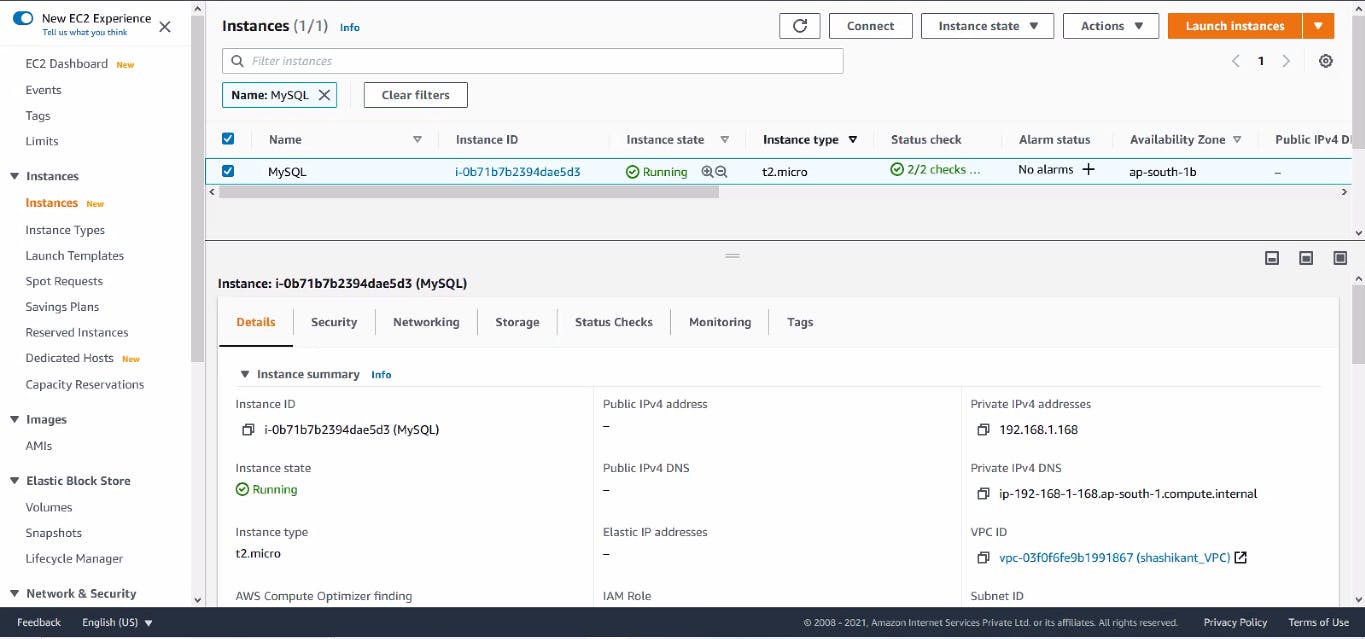
Database Server Launched
So, here our Secured Infrastructure is Ready with a VPC having two subnets, private subnet having a Database server, and public subnet having a web server.
Very Important Instructions
For the first time running Terraform code on AWS CLI, use terraform init to install the plugins.
Do this process only once.
terraform init
To check the syntax of code run terraform validate. If got some error, then check the syntax of the code, and try again until success comes.
terraform validate
To apply Terraform code to create infrastructure, use
terraform apply
To destroy all the infrastructure created by your Terraform code, use
terraform destroy
GitHub Repository Link for My Terraform code - GitHub Repo
That’s All, Keep Learning.
! THANK YOU For Reading !
